
The journal
How to secure a duvet cover that doesn’t have corner ties
Align the insert and cover first, then check purpose-made fasteners or suitable sewn ties. Installation methods help with alignment but do not create an attachment.

If your duvet cover has no ties, start by checking that the insert and cover are the intended size and smoothing their corners into alignment. For an actual attachment, ask the bedding maker about suitable fasteners or whether ties can be added to the cover. Turning the cover inside out helps installation, but it does not create an attachment by itself.
Check the fit before adding anything
Read the dimensions on the cover and insert labels. Two items sold under the same general bed-size name do not necessarily have identical measurements. An oversized cover can leave room for movement; fasteners do not change the dimensions. Check that the insert reaches the corners without forcing or folding its edges.
Open the cover and look for existing attachment points that may be hidden inside. If the insert has loops but the cover has none, those loops still need a compatible fastening method. Do not assume that a loose ribbon tied around a filled corner is equivalent to the maker’s intended connection.
Use an installation method for alignment
The Modern Dane’s guide explains inside-out and rolling methods for putting on a duvet cover. Lay the cover and insert out as directed, align their corners and bring the cover over the insert. Close the opening and smooth the filling into place. Follow any fastening instructions for your own bedding.
These methods help you start with the layers aligned. They do not guarantee that a cover without attachment points will never shift overnight. If you have to realign it repeatedly, check fit and the maker’s fastening options rather than adding increasingly tight makeshift knots.
Consider suitable sewn ties
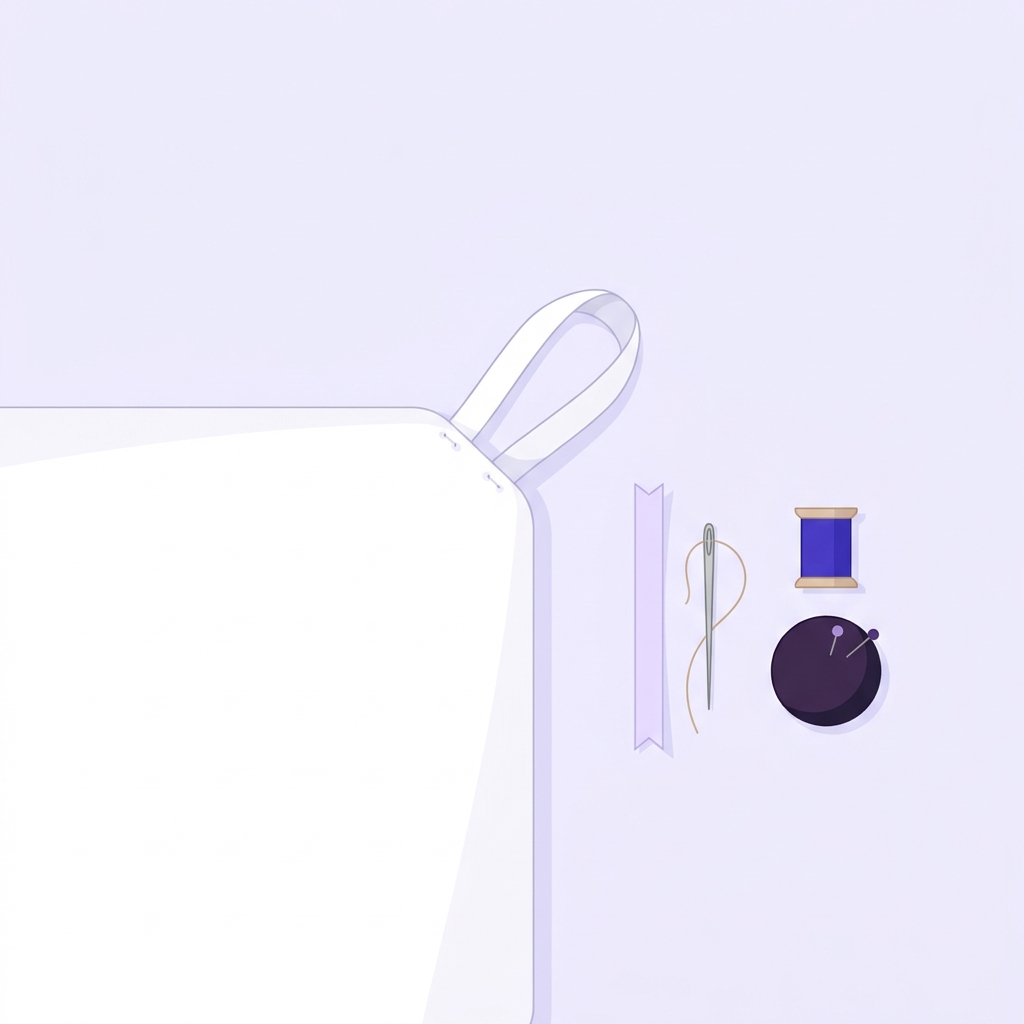
Essieofwho documents one DIY example of adding ties to a duvet cover. That is an individual sewing project, not a universal pattern for every fabric or insert. Before modifying your bedding, check whether the maker permits it and whether the fabric and seams can support the proposed attachment.
If you choose a sewing alteration, use an approach suitable for that item and your sewing experience, or ask an alteration professional. Preserve the care label and check that added materials tolerate the same laundering routine. Do not stitch through a filled insert or puncture specialist construction without the manufacturer’s approval.
What about clips or adhesive patches?
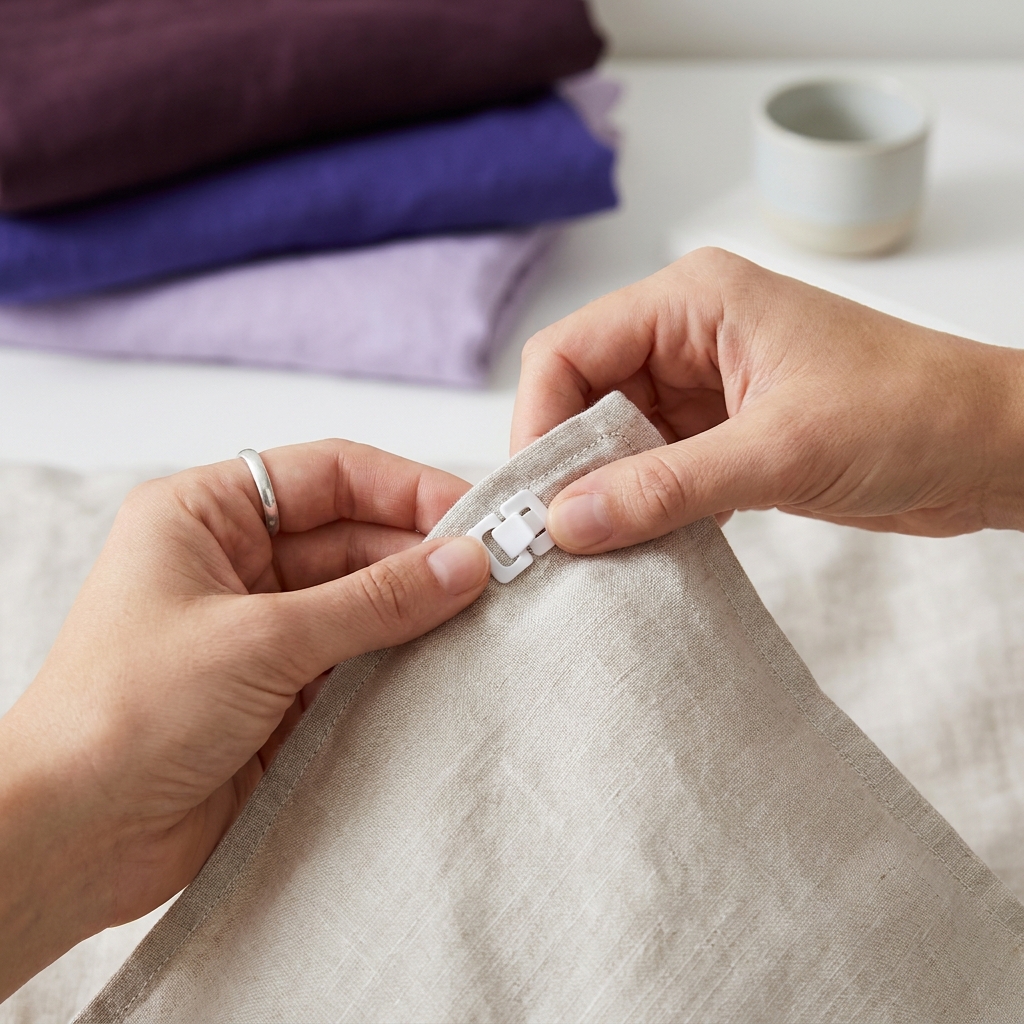
A purpose-made clip is another product to assess for fit, comfort and care compatibility. Check its instructions and whether your bedding maker allows it. The clip shown in the image illustrates a fastening option; it is not a recommendation for a particular model. This guide does not establish that self-adhesive patches are removable, washable or suitable for every fabric.
Put this into practice
Check the cover’s construction and the insert’s permitted attachment points before adding a fastening. Try a supported method without puncturing or damaging the bedding, and confirm the cover can still be removed for washing.
Check a duvet cover without ties
For the underlying movement problem, see why a duvet moves inside its cover. Our guide to duvet-cover ties explains the intended attachment when ties are already present.

If an approved attachment method involves sewing, Made in Steps explains fabric and needle selection. Check the bedding construction and care instructions before adding stitching. What needle size should I use for different fabrics?.